One of the most powerful features of Photoshop is the ability to create custom brushes, literally, you can create a brush from anything in Photoshop
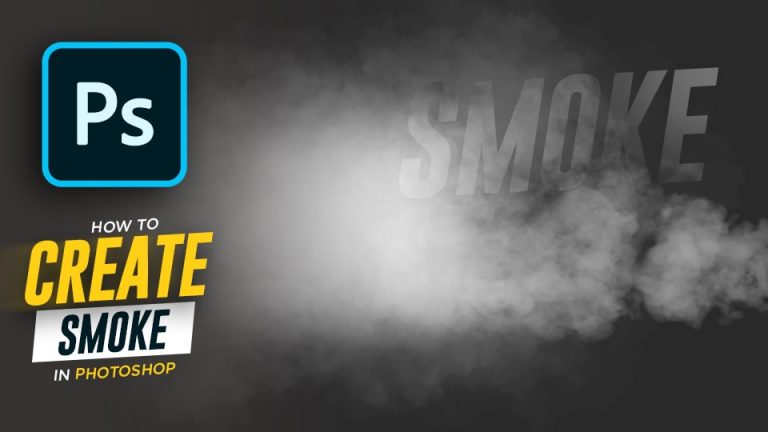
in this tutorial, I’m going to show you how to add fog in Photoshop by showing how to make a fog brush from clouds that you can use for many projects like creating a smoke background, adding depth and atmosphere to your composites, and many more,
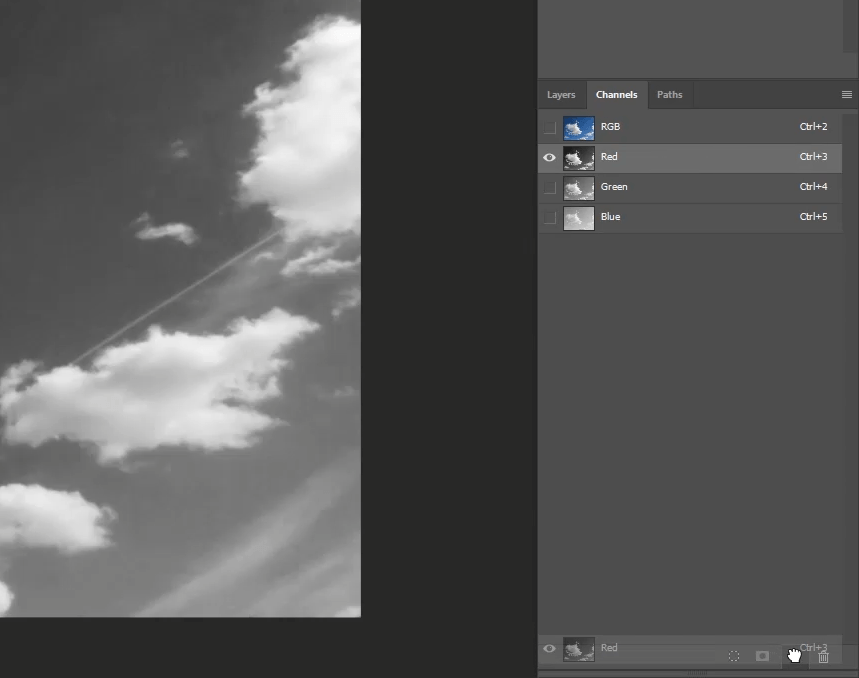
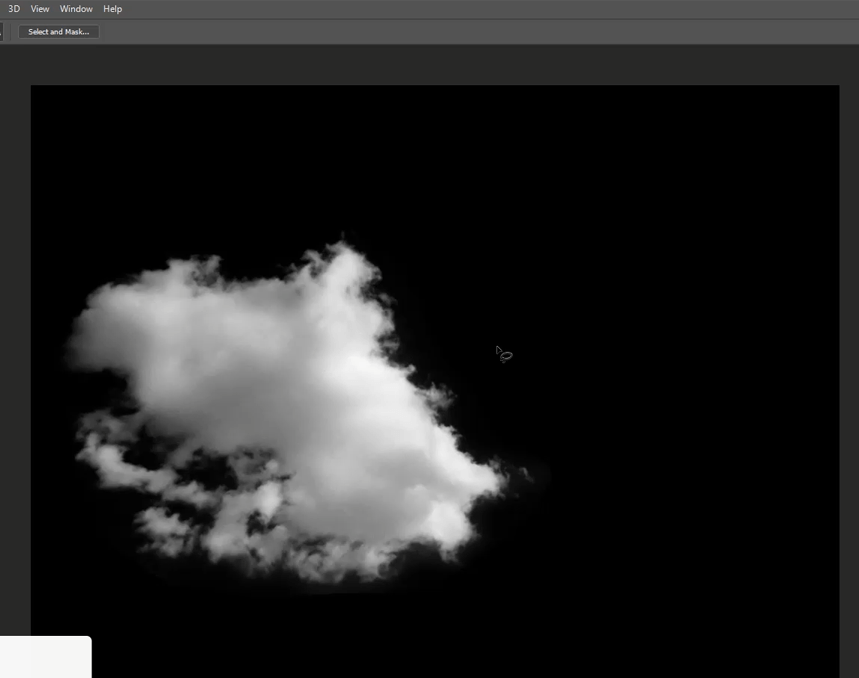
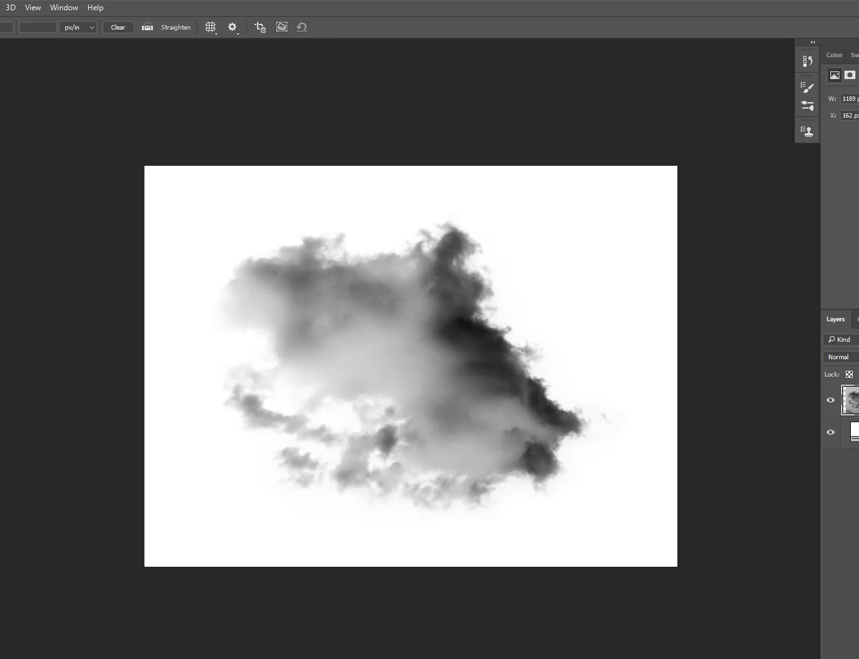
So this is the image that We are going to use to create the Fog/smoke effect and turn it into a custom fog brush
the first thing we need to do is to extract this cloud from the background and the easiest way for this type of image is to use channels,

1 – Use Channel to Remove the Background
So click on the channels tab, And the way how this works is you need to choose a channel with the most contrast, In this case, the red channel, and what you need to do is duplicate it by dragging it to the new layer icon
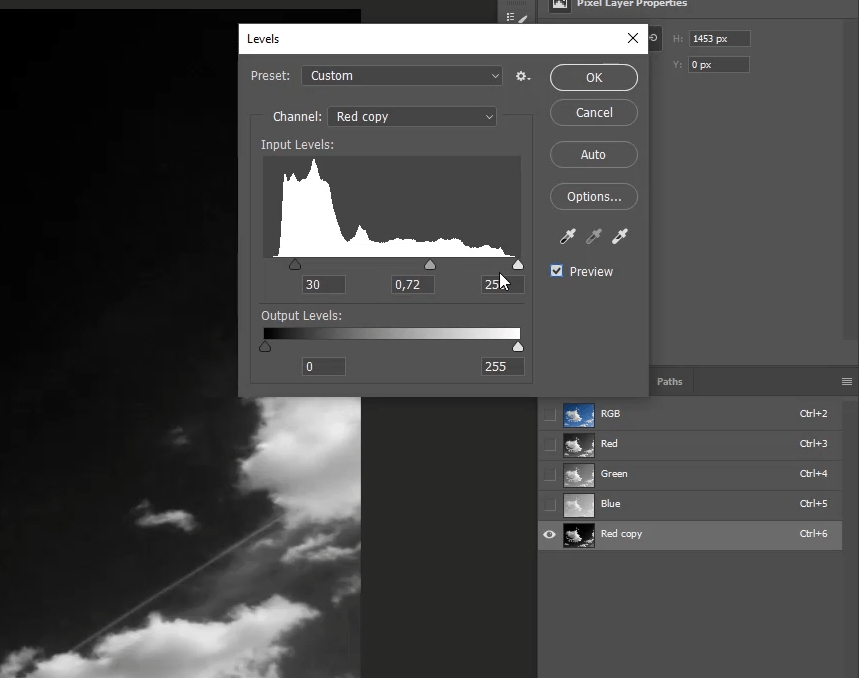
Then hit Ctrl L the bring levels and then make the background darker by increasing the Shadows with the shadows and the midtones sliders but I want you to pay close attention to the edges of the cloud If you add too much Shadows it’s going to Destroy the details on the edges of the Cloud, and you can see that better when you turn the preview on and off
that’s as far as we can go without destroying the details of the clouds but we can still use the overlay brush technique to make the backgrounds pure black
And with that done click on RGB to go back to RGB mode then load the red Channel as a selection by holding control and clicking on the thumbnail, Go back to layers, and with the selection active click on the new layer mask icon to load the selection into the mask
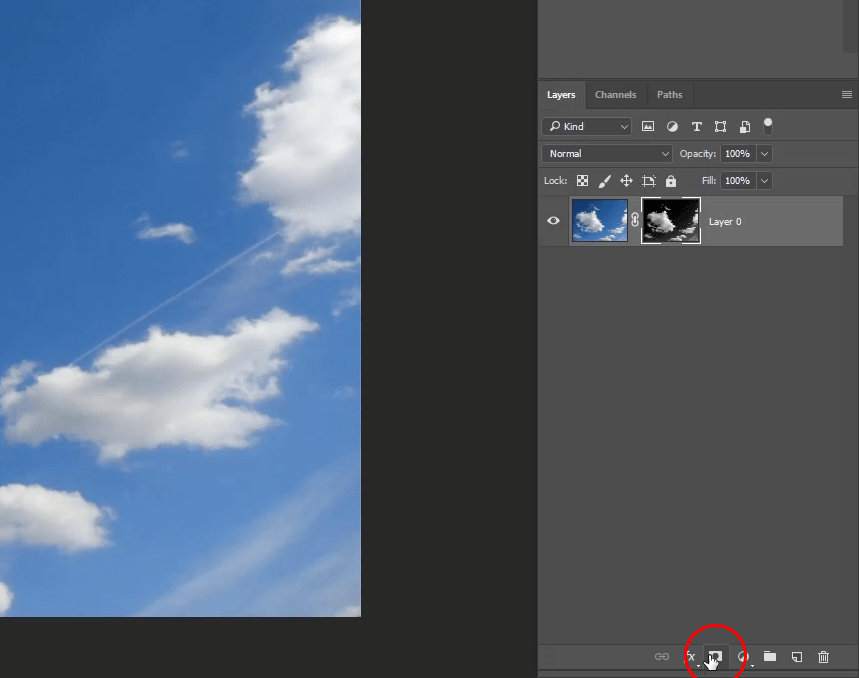
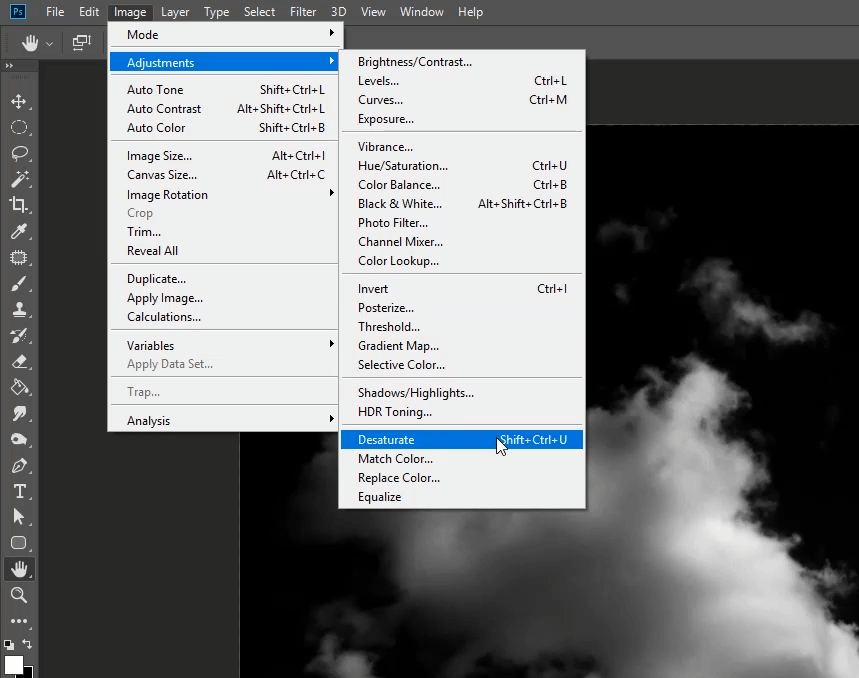
now add a solid color underneath this layer so you can see a little bit better, The next thing is to desaturate the image by clicking on ctrl/cmd + shift + u, Or by going to image adjustment Then desaturate
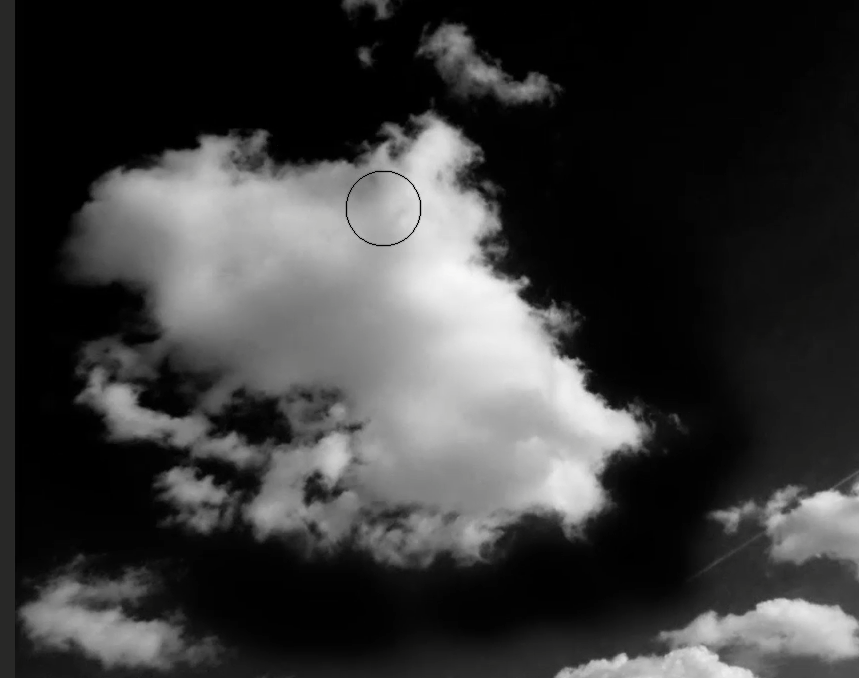
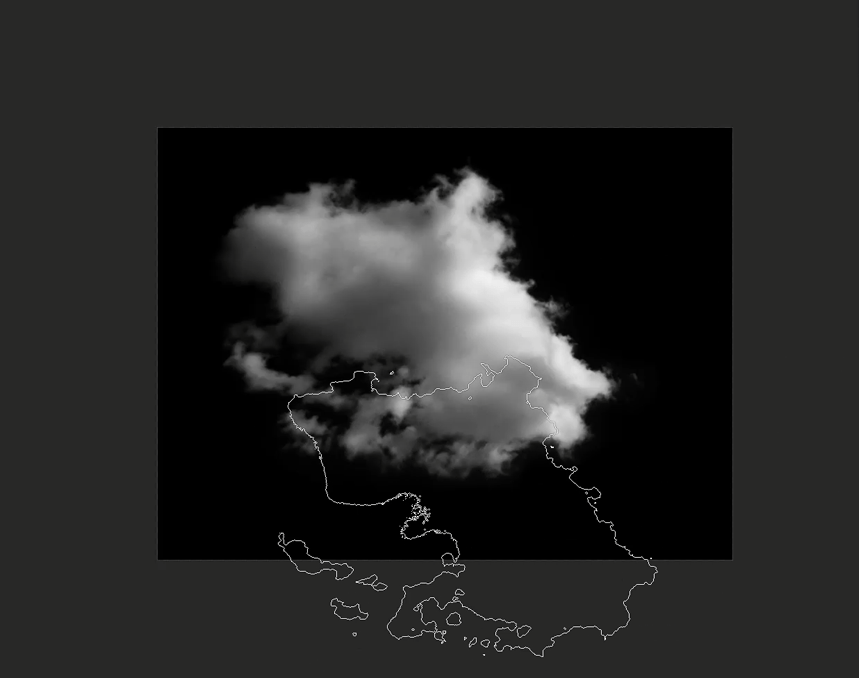
So now you can hold alt and click on the layer mask thumbnail To see the layer mask, and as you can see the background is not hundred percent black
So for that take the brush tool, reduce the flow, and then change the blending mode to Overlay, And with a black foreground start painting at the edges to mask the background,
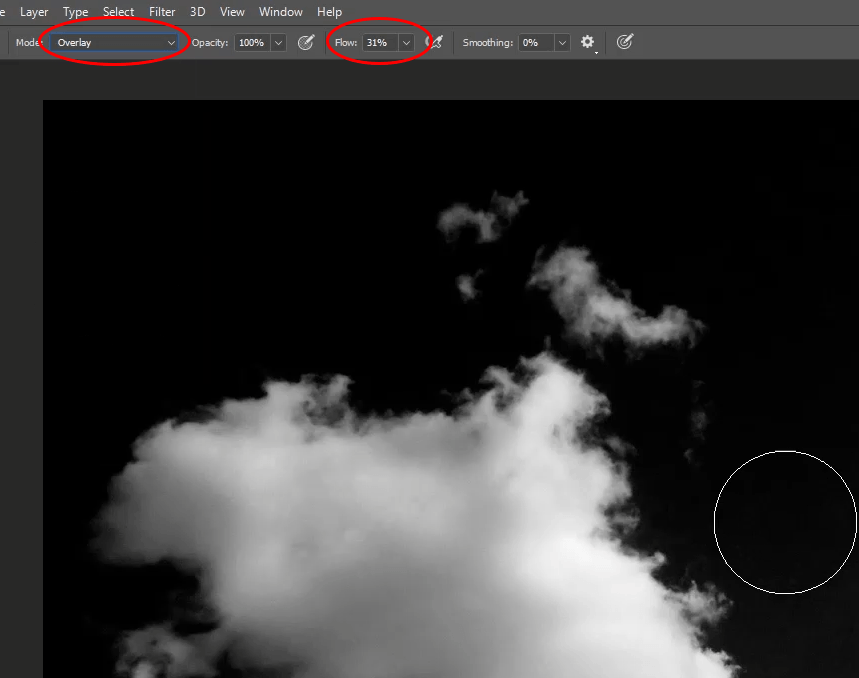
the overlay brush will affect pure white or black,
keep painting at the edges and at the same time be careful to not remove too much from the shape of the cloud
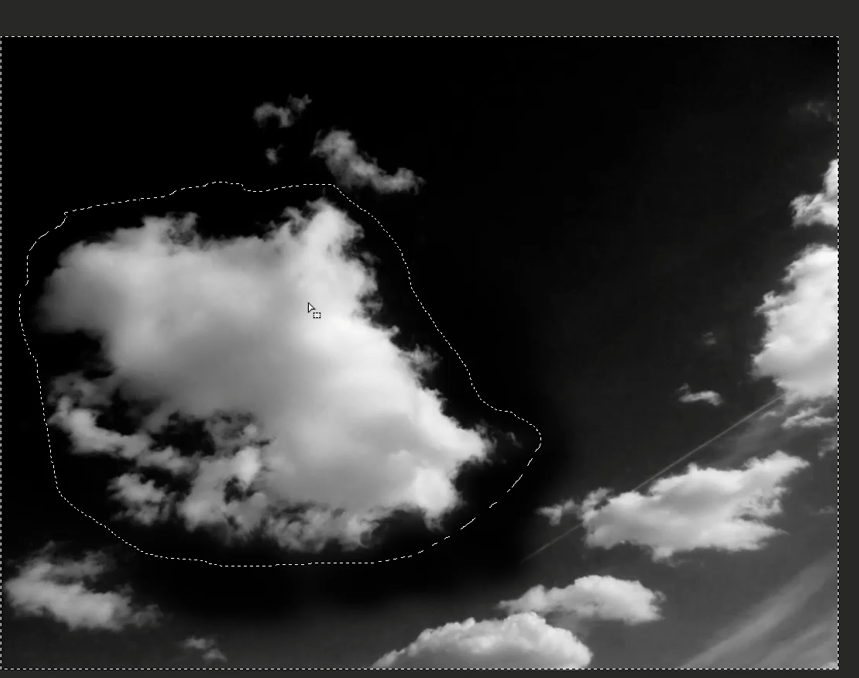
All right so now you can take the lasso tool And make a selection around the cloud But we need the opposite of the selection so hit Ctrl/cmd + shift + I to invert the selection And now fill this selection with black to hide everything except the cloud that we need,
2 – Convert the Cloud to a Brush Preset
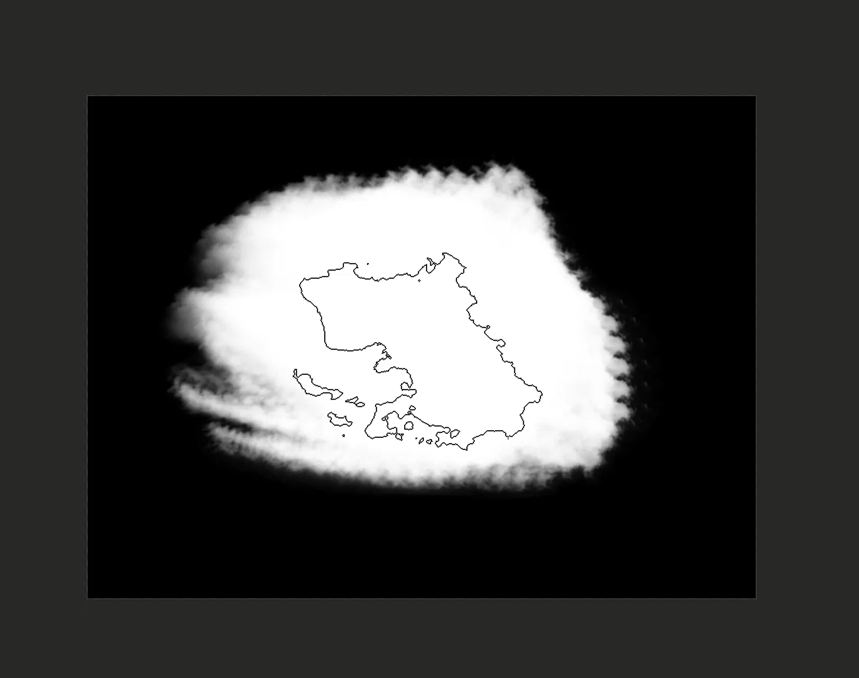
ok, now in order to convert an image to a brush in Photoshop you need your object to be black on a white background,
That’s why you need to change the fill to white and also invert the image by hitting ctrl/cmd + I, then crop the image And you can access the crop tool By clicking on C on your keyboard
So now go to edit Define brush preset, You can see the preview in the dialog box and you can rename your brush, once you do that photoshop will automatically switch to the brush you just created,

If I click once this is how it looks like,
But if I start painting with it it looks like this and this does not look like fog at all so for that we’re going to modify some brush settings
3 – Edit Brush Settings
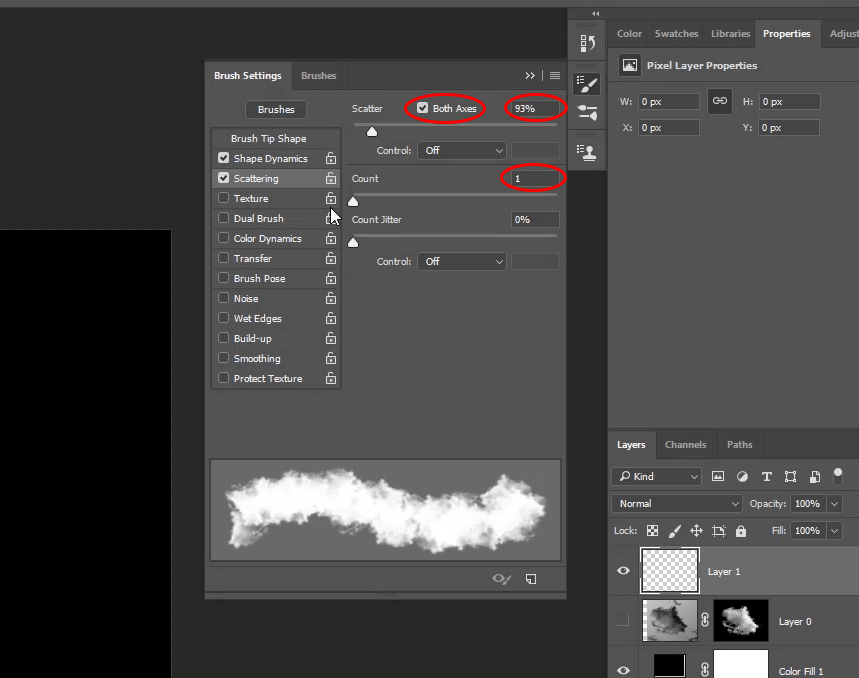
So let’s load the brush settings panel, and the first thing we need to add is “shape Dynamics”, and we will start by increasing the size jitter And that will add variations in Brush size, Next, we will increase the angle Jitter And that will make the brush rotate as you paint, And the next thing is to flip the brush on the X & Y axis and now each time you click you will have a different brush variation
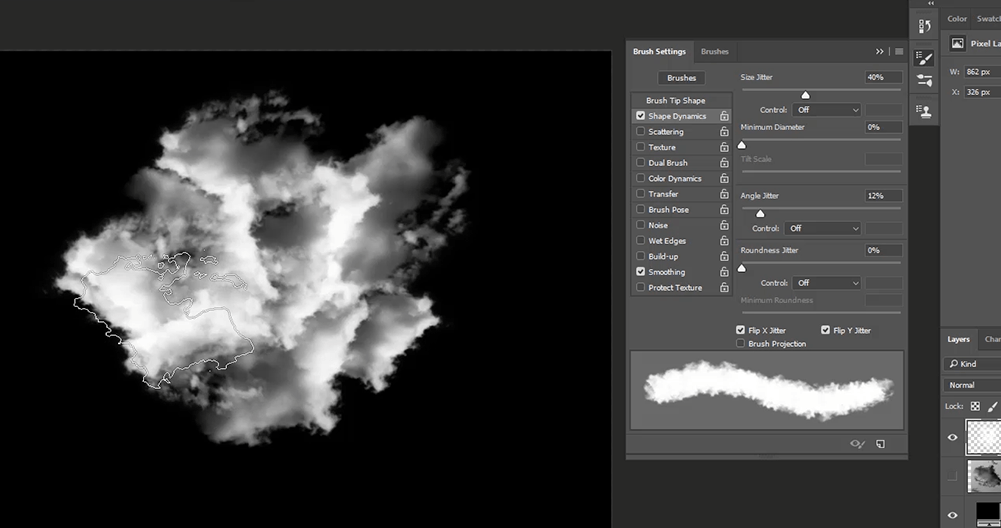
Next, check “scattering” and increase the scatter just a little bit to add some space between the brushes and also make sure it’s on both axis, All right in terms of count i usually leave it the 1 because it gives me more control to build up the effect
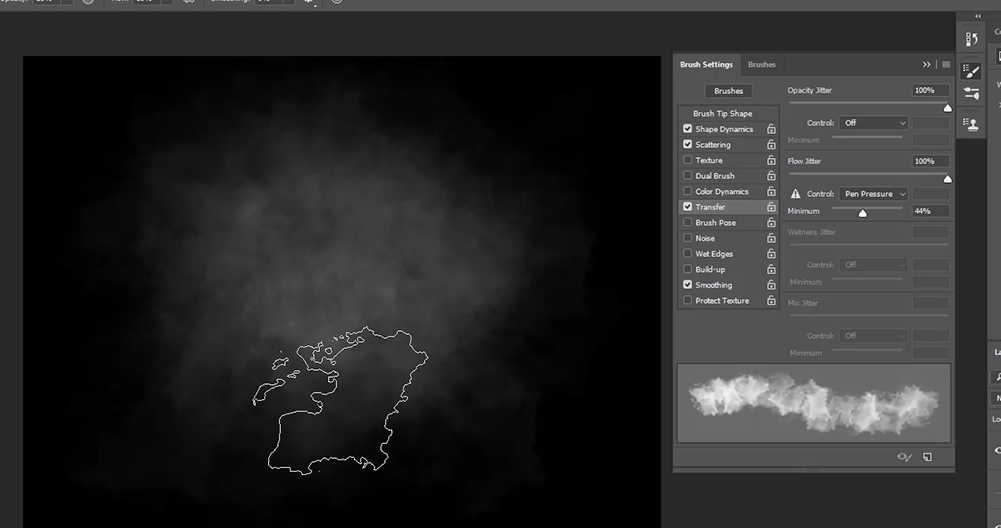
And the last thing is transfer and you want to increase the opacity and the flow jitter, And what will that do is Make different opacity levels in the brush Strokes, You can see that in the preview down in the bottom and I’m going to make a stroke with the brush to show you the difference, This is with the opacity Jitter all the way to 0, and this is with all the way to 100 and you can see the difference there And the same applies for flow as well I usually keep them both at 100% And also decrease the opacity to 20% and the flow to 10% and that will give me more control and it will allow me to build up the effect and create the cloud volume
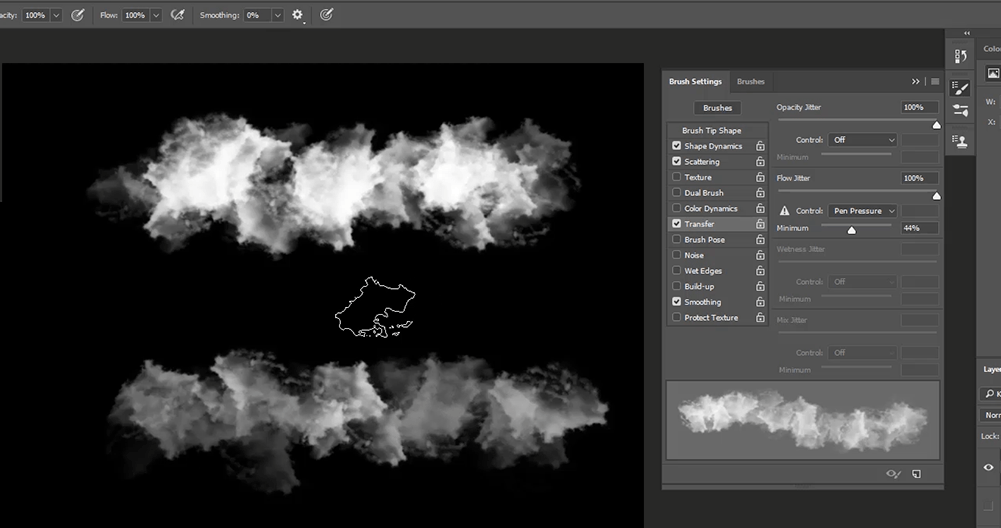
You can see now how it is starting to look like a frog when I keep painting on top And that’s the key to this effect you want to start with a very low opacity and Flow And build-up to the effect,
4 – Save your Brush Peset
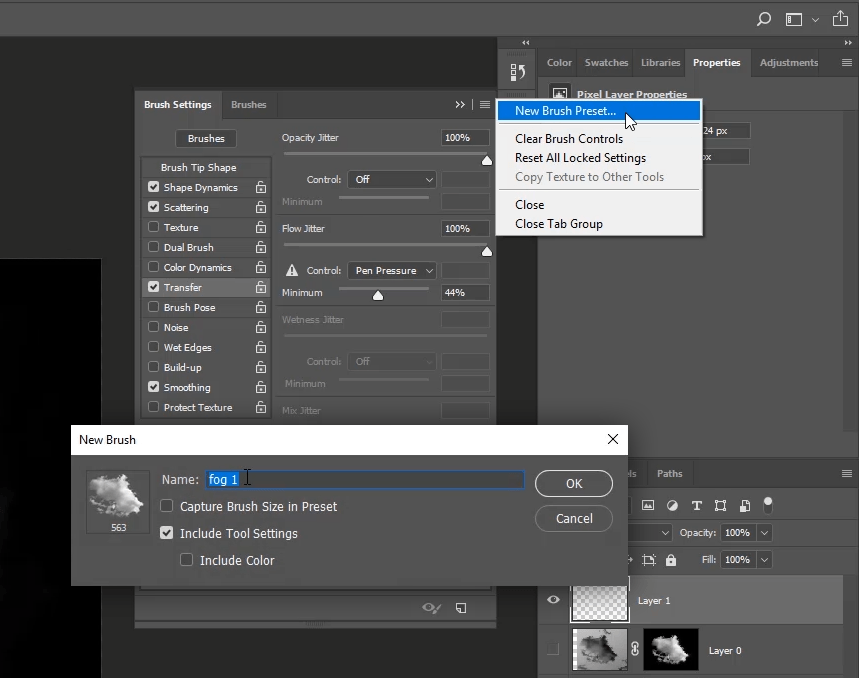
Alright so once you’re happy with the brush settings you can actually save it as a preset By clicking on the hamburger menu in the brush settings panel and choosing “new brush preset”,
And from here you can choose what to save with the brush if you want to capture the brush size, the tool settings or the color, It will even save the settings from the options bar like the opacity and flow of the brush, then you rename your brush and click okay and it will be automatically selected and added to the brush panel As a new brush preset with the settings you saved
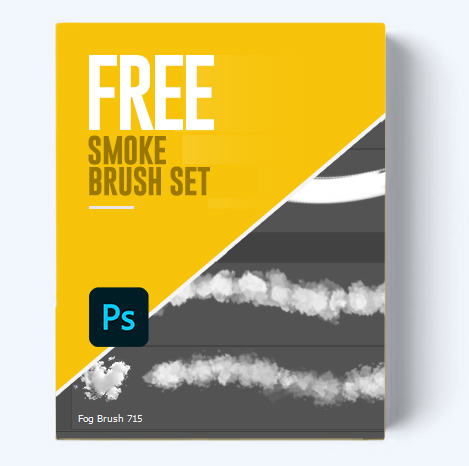
Now you can delete the first brush by right-clicking on it and selecting delete brush, I also created a couple of brushes with slightly different settings and different cloud types, And I’m going to also provide them for you to download Now let’s put this into action and see how we can use this brush in some case scenarios
5 – How to use the Fog Brush
So I have a landscape photo here for demonstration and let’s say we want to add more fog to it

so take the fog brush that you just created then sample a color from the fog And start painting, make sure you are using a low flow and you want to take this nice and slow And gradually keep adding fog
Remember fog has volume and detail and you don’t want to paint with the same brush size and flow So I’m going to make the brush size smaller and then add smaller detail

so at this point, we have our foundation, now you can increase the flow just a little bit and then take a brighter color from the fog And start painting more volume and detail and that will make it much more realistic

All right, now that you have seen how powerful this technique is, I hope you are seeing the potential of what you can do with it, And use it on your own project
let me show you what I also did with this fog brush, This is a project that I did for a premium course, if you want to learn advanced compositing and retouching techniques you can learn more about it here
I used this exact brush technique To create this Gloomy scene and add depth by creating multiple layers of fog

Now It’s Your Turn To Take Action
So now that you’ve learned how to create a fog brush from a simple image and saw how much powerful and handy it could be, are you Inspired to take action in your own compositing projects? Leave a comment below!
if you want the ultimate brush bundle that will help you work faster, save time and create better edits, check out my brush bundle that has everything you need to create composites in Photoshop