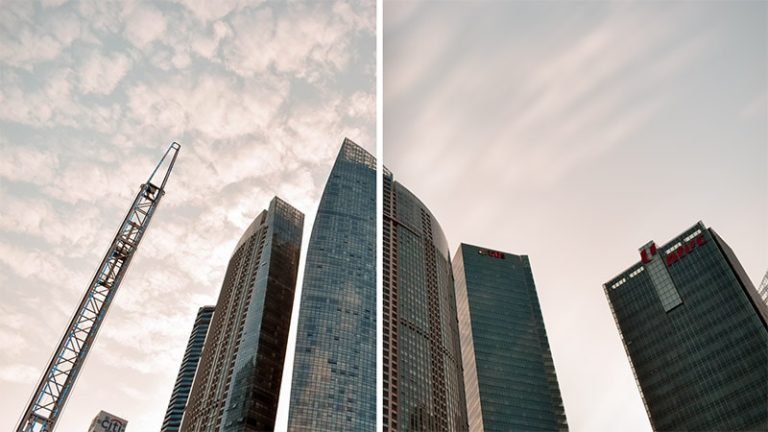
The beauty of editing photos in photoshop is that you can bring a photo to its full potential even though the end result was not intended when the photo was taken, Like long exposure
today you are going to learn how to create long exposure in Photoshop easily using the path blur filter, content-aware fill, and layer masks
As always, if you want to follow along, you can download the project file from the resources section above
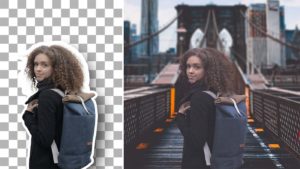
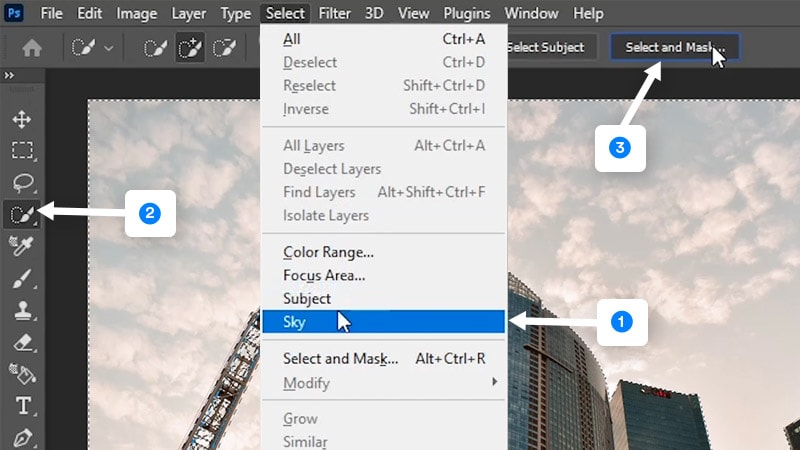
1 – Separate the Foreground and the background
The first thing you need to do is to separate the foreground and the background and to do that start by selecting the sky by going to select > sky.
Most of the time, Photoshop will do a good job of selecting the sky, If not, you can further enhance the selection by choosing any selection tool, then click on “select and mask”.
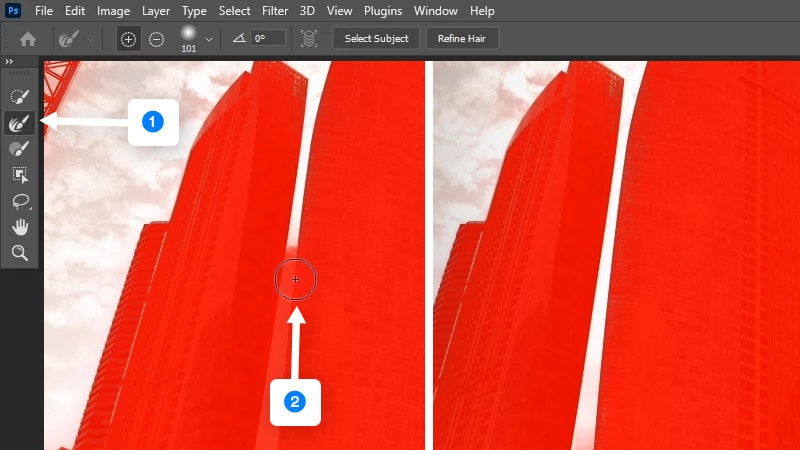
From here, you can take the refine edge brush tool and then paint on any area that is not properly selected to enhance your selection.
Once you’ve done that, you can output your selection by changing the output on the bottom hand corner to “layer mask”, and then click Ok
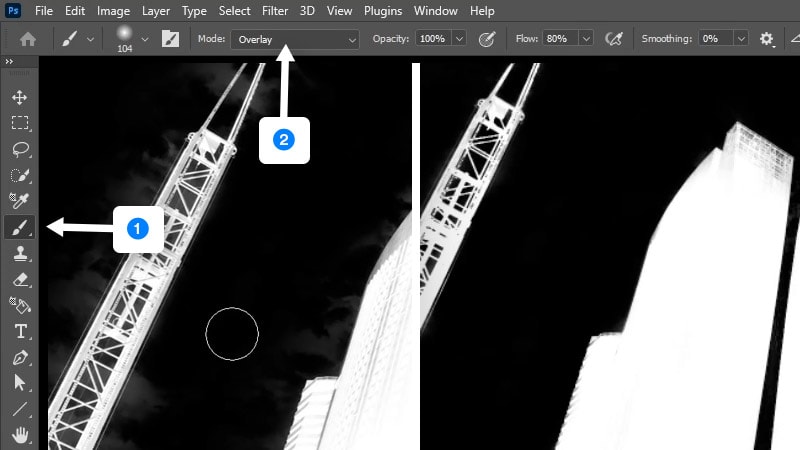
In my case, I needed to enhance the layer mask more, So I inverted it by clicking on CTRL/CMD + I, and then I used the brush tool with the blending mode set to overlay, and I painted with black on the edges to remove the background and with white on the buildings to enhance their edges
Quick Tip:
Use X to toggle between black and white, and [ ] to control the brush size when painting with the brush to speed up your workflow
2 – Fill the missing areas with content-aware fill
So now that the foreground is separated, you need to separate the sky on its own layer as well.
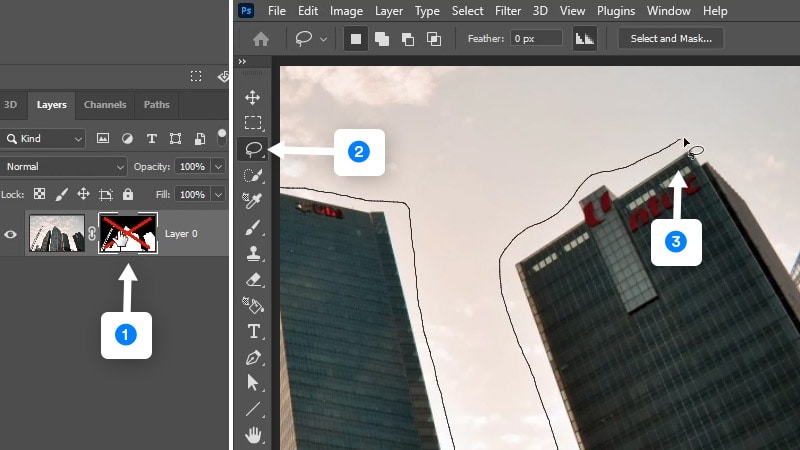
So start by shift-clicking on the layer mask to disable it, Take the “lasso tool” and then make a rough selection around the edges of the buildings.
Now go to Edit > content-aware fill
So the green area is the area that Photoshop is sampling from, and you can add more to the sampling area by painting with the brush tool, or you can exclude areas by also painting with the brush tool using ALT or option.
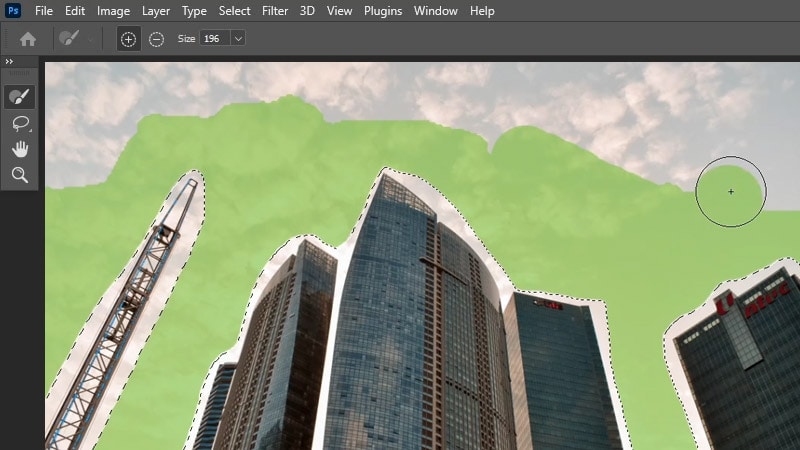
The end result doesn’t have to be perfect because the sky going to be blurred later.
So click ok to accept the changes and you will see the new content-aware fill information on a new layer.
We need the whole sky on its own layer, So click on CTRL + ALT + SHIFT + E or CMD + OPTION + SHIFT + E to create a stamp visible layer of the original sky and the content-aware fill layer.
Now you can delete the content-aware fill layer, then drag the stamp visible layer underneath the foreground and enable the layer mask of the foreground layer

now we can get the best result of a long exposure without having some bad-looking edges.
3 – Apply a path blur filter
what you need to do next is to right-click on the sky layer and choose “convert to smart object” and then go to filter > blur gallery > path blur.
First, if you don’t see the blur controls, you can click on CTRL/CMD + H to show it.
Then you can use the control points at the edges to move the controller and change the blur direction.
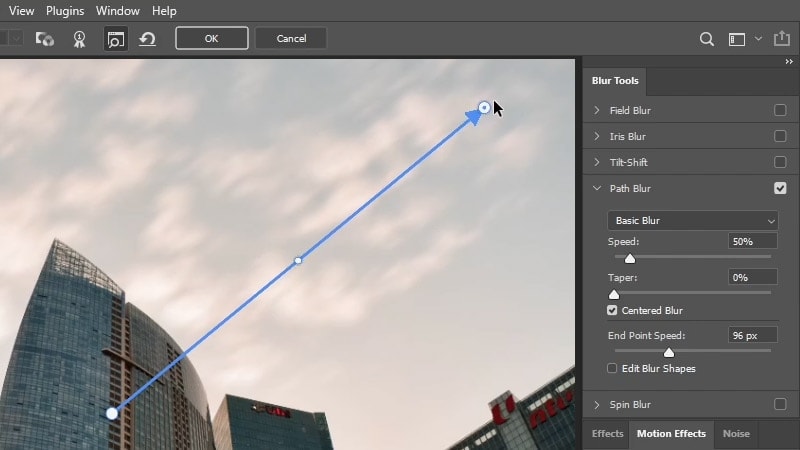
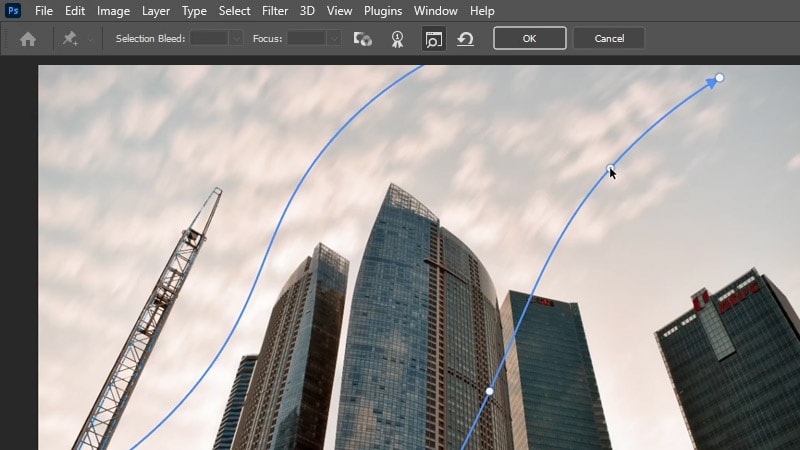
You can add another control point by clicking from the area that you want the blur direction to star, And then click again to add another point.
You can also add more points in the middle and move them to change the shape and the curvature of the blur
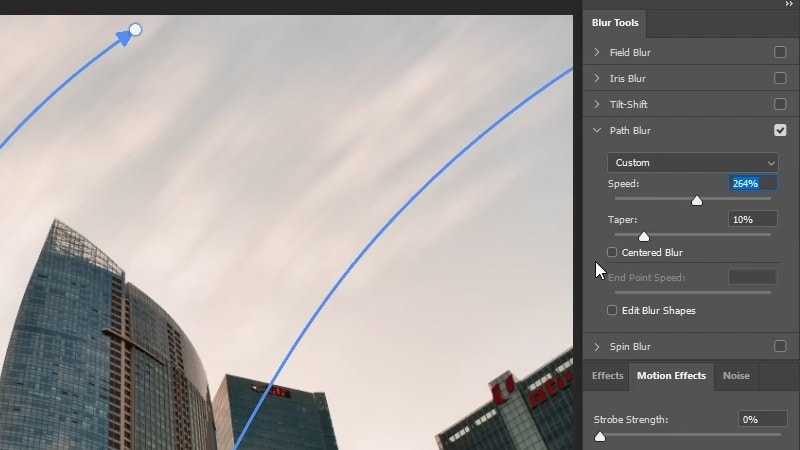
On the right-hand side, you can use the sliders to increase the speed and the taper of the blur, You can also uncheck “centered blur” to get a smoother result, and once you’re happy with the blur results, click OK. To accept the changes.
4 – Make the effect Smoother with gaussian blur
As you can see, this is the result of the path blur filter, The clouds are a little bit harsh and we can add another blur filter to make the clouds smoother and make it look more like a long exposure effect.
You can do that by going to filter > blur > Gaussian blur, Then you can add between 8 to 10 pixels of blur and click Ok
And this is the end result of the long exposure effect.
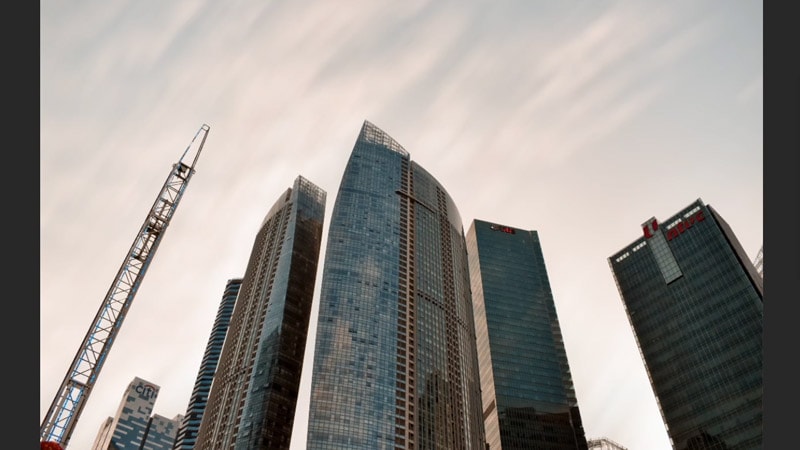
So that’s how to create the fake long exposure in Photoshop, If you want to learn how to create long exposure star trails check out How to create star trails in Photoshop
make sure to let me know in comments down below if this tutorial was helful, thank you for following along and I’ll see you in my next tutorial. ✌