
Are your landscape images missing some star trails? Maybe the weather wasn’t in your favor, or your camera is not the best at shooting long exposure, and if that’s the case, you don’t need to worry because you can still make star trails in photoshop very easily and it looks realistic.
The best part is, you only need one image to achieve the star trails effect in Photoshop
In this tutorial, I’m going to show you how you can easily create star trails in Photoshop by leveraging a powerful feature in Photoshop called “Step and Repeat”
Let me show you how to do it.
1 – Use a Night Sky Image
First, you’re going to need a night sky image with some stars in the background, Like the one we have today
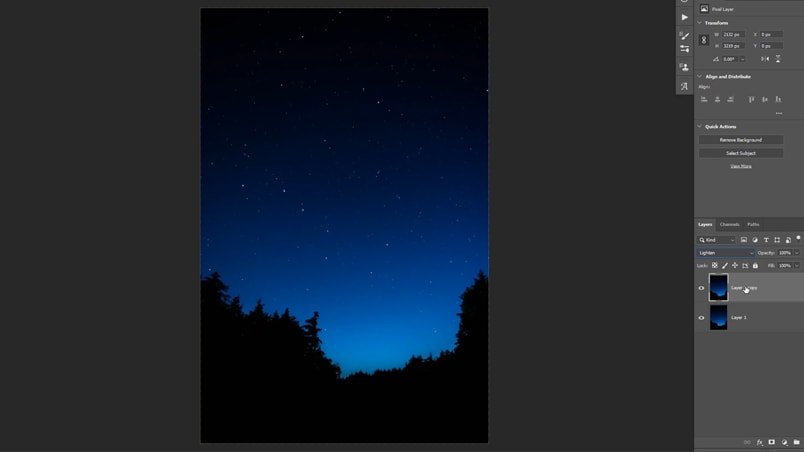
Or you can also download the image of today’s tutorial and follow along
Once you have imported the image in Photoshop, start by duplicating the image layer by clicking or ctrl/cmd + J, or you can drag it to the new layers icon.
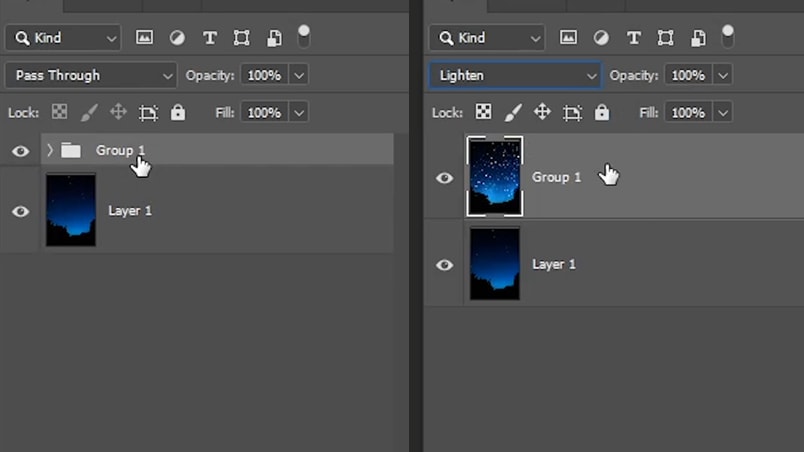
Then you’re going to change the blending mode of that copied layer To lighten.
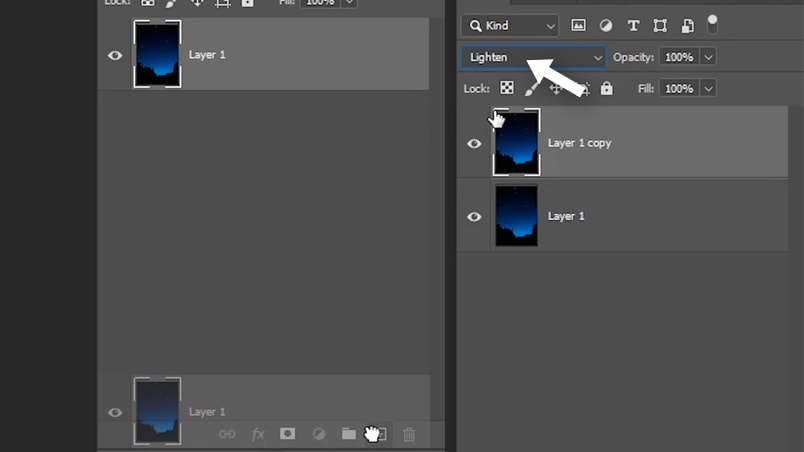
This blending mode will only show the brightest pixels in the image, Therefore only the stars will be visible in the duplicate layer, if the sky of your image is a little bit brighter and some of it is showing you can add the levels adjustment layer and make the sky darker and the stars lighter.
Now click on ctrl/cmd + G to group that layer.
2 – use “Step and Repeat” to Make Star Trails in Photoshop
to achieve this effect, we’re going to be using the “step and repeat” feature in Photoshop to make multiple copies of this layer and rotate them at the same time.
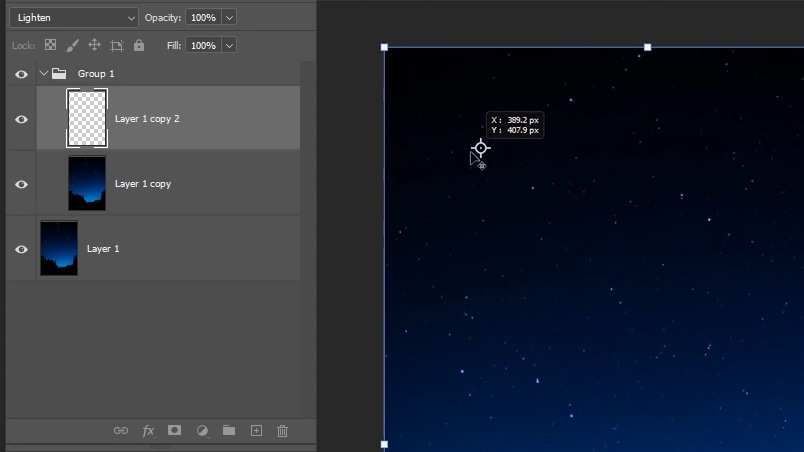
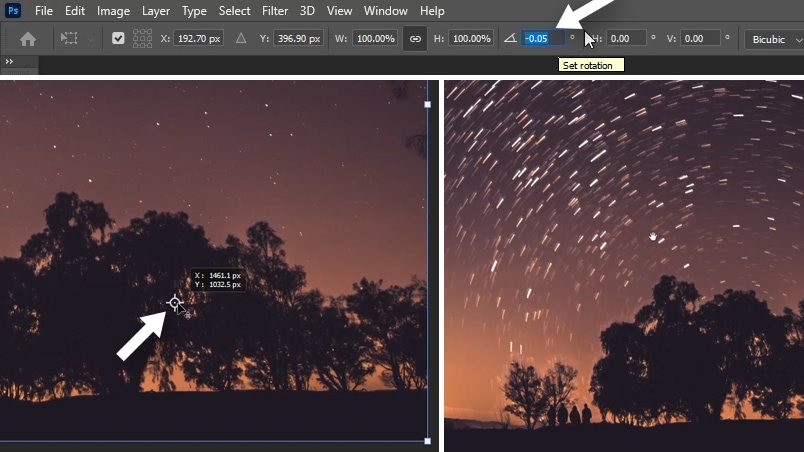
So how this feature works is you’re going to click on ctrl + alt + T or cmd + optn + T to get to free transform and enable “step and repeat”.
Then you have the anchor point in the middle and you can move this anchor point to specify the rotation point and this case I’m going to change my rotation point to the top left corner.
Then you’re going to click on this box to set your rotation degree, and then add the very low value, in my case, i added 0.05 degrees to rotate my image clockwise.
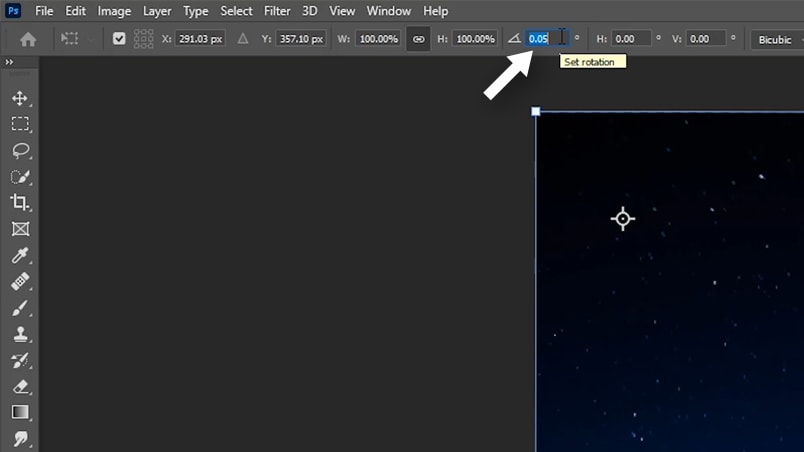
And make sure to input the low value so that the stars don’t get spaced out from each other and the effect does not look great.
Once you have entered the rotation degree, click on the checkbox to accept the changes, and now all of the changes that you just did in the free transform will be recorded in step and repeat.
Now, all we need to do is to tell Photoshop to repeat the last step by clicking on ctrl + alt + shift + T or cmd + option + shift + T multiple times,
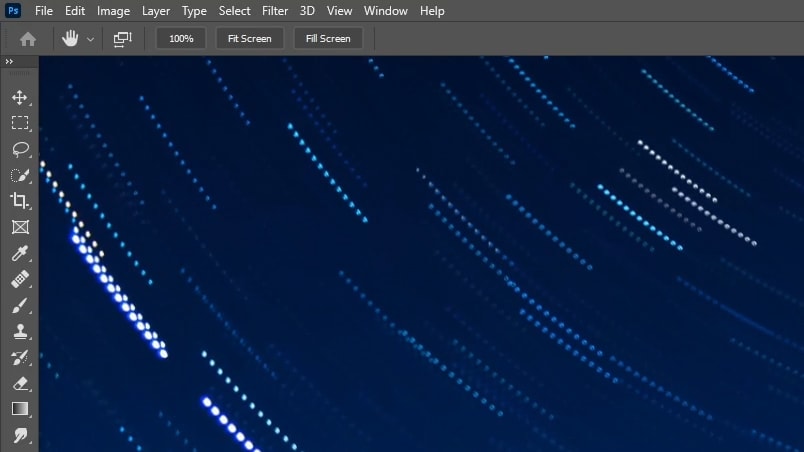
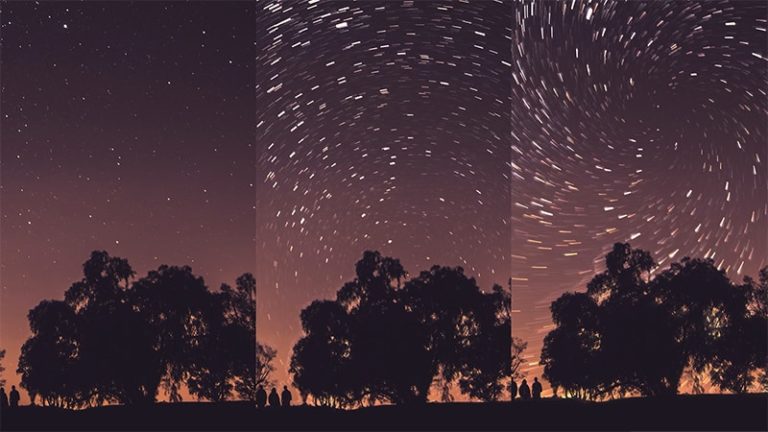
as you start doing that, you will notice that the start trail effect will start to form.
make sure to add enough of these, to your liking, to achieve the results that you want.
Also, keep in mind that making a lot of these copies will increase your file size and Photoshop may crash, So make sure that your system is capable of doing this, And the image resolution is not very high.
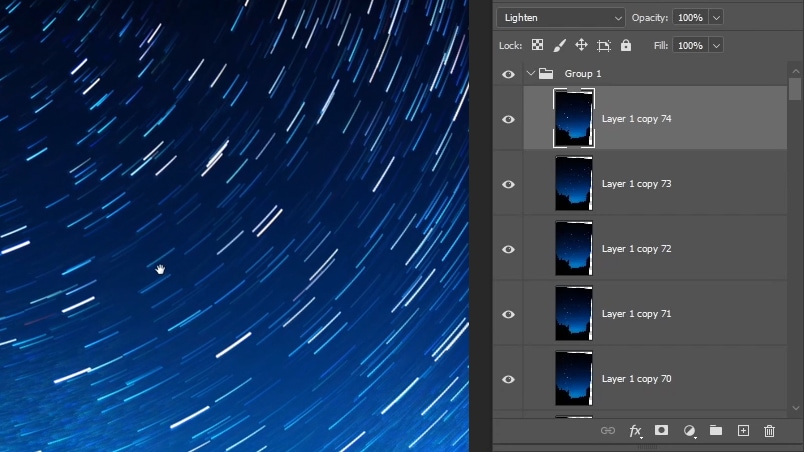
Once you have created all of the copies, select the group, and then click on ctrl/Cmd + E to merge all of those copies into one layer, and then you can change the blending mode back to lighten.
3 – Restore The Foreground
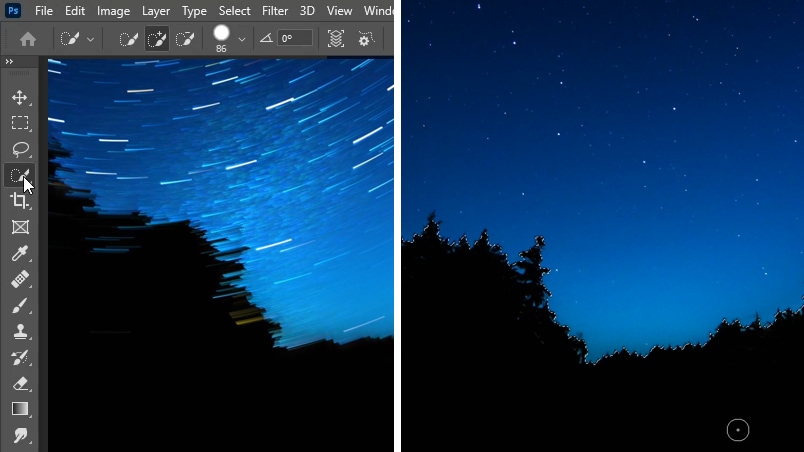
And now the last thing that we need to do is to bring back the trees in the foreground.
So turn off the visibility of the star trails layer for the moment, then select the background layer, and then use the quick selection tool to select all of those trees in the foreground,
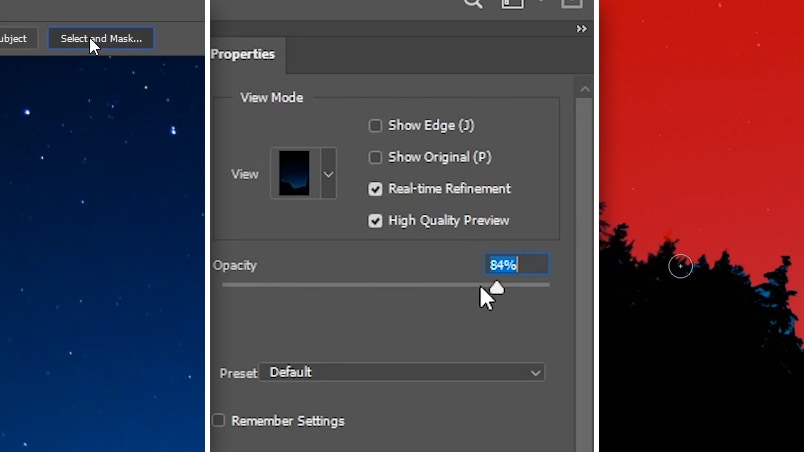
You can also refine your selection by clicking on the select and mask button, then take the refine edge brush tool, and you can use the opacity slider to reduce the visibility of the foreground. And you can also change the view mode to overlay and then use the fine as brush tool to paint on the edges and refine the layer mask.
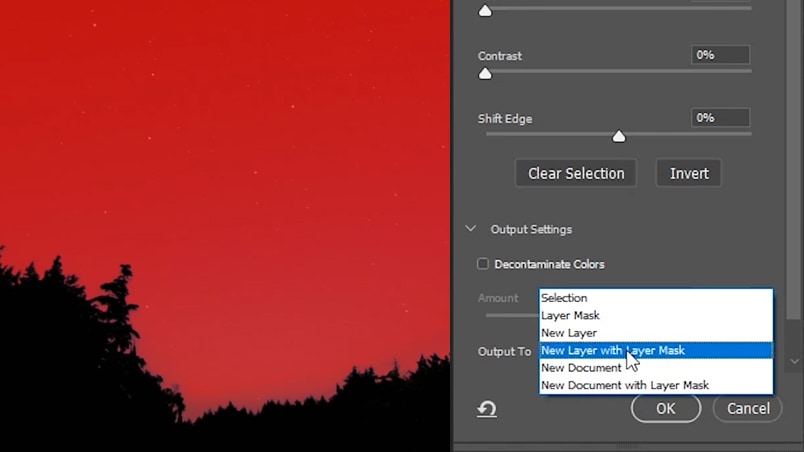
Once you’ve done that, make sure to change the output mode to “new layer with layer mask”, and then click ok.
And now all you need to do is to drag that layer to the top, and then turn on the visibility of the star trails and the background layers.
4 – Add Contrast To Control The Visibility of The Star Trails
You can also increase the contrast of the Star trails layer to reduce the visibility of some of these stars by creating a new levels adjustment layer on top of the star trails layer, and then create the clipping mask by clicking on Ctrl + alt + G
Then you can use the mid-tones slider to hide some of the stars in the background, In this case, I only want to hide the stars at the bottom, So I’m going to invert the layer mask by clicking on ctrl/cmd + i, and then I can use the brush tool with 50% flow and capacity and only paint on that area.

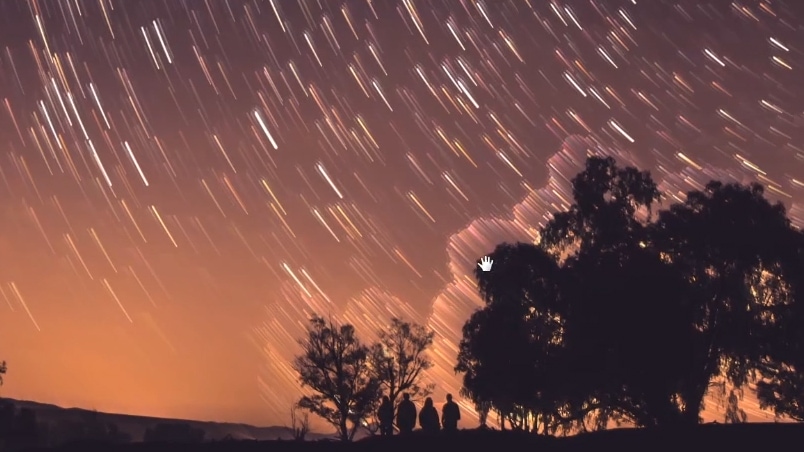
And that’s pretty much it. That’s how we can easily create star trails with one image in Photoshop.
5 – Get Creative
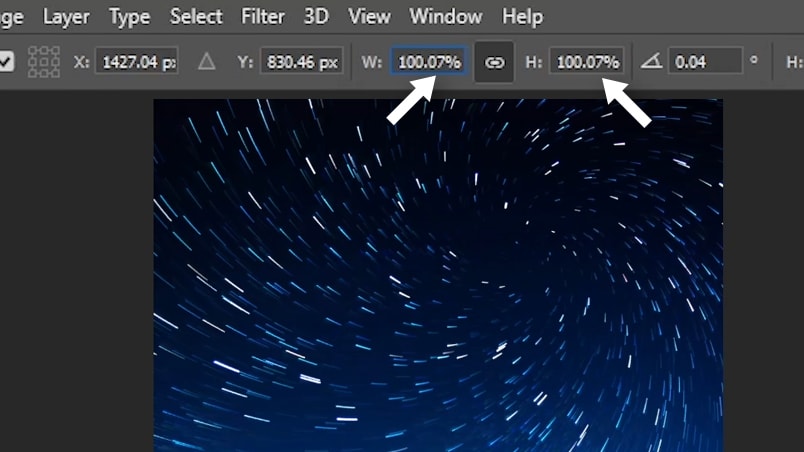
You can also get creative with the rotation angle and scale, and you can do that by increasing the horizontal scale percentage to a low value, like 100.07% along with the rotation angle and the anchor point,
and then use “step and repeat” again, and you will get some unique and amazing results.
6 – Things to Keep in Mind
One last thing to keep in mind is that you may encounter some weird-looking edges because of the foreground elements.
And you can easily fix that by changing the rotation point, And you can also change the rotation angle to counter-clockwise.
You can also completely separate the background stars or use different star images to get a clean result.
7 – Download My Star Trails Action For Free
you can also achieve this effect with one click by using my star trails actions, all that is left to do is to restore the foreground just like i showed you
All right, So that’s it for this tutorial. That’s how you can easily create star trails in Photoshop.
If you enjoyed this tutorial, make sure to subscribe to my youtube channel for more tutorials like this if you haven’t already
I also have a tutorial on how to create stars from scratch in Photoshop, and how to create a fake sun in Photoshop, so make sure to check them out
Other than that, I hope you guys enjoyed this tutorial, thank you guys so much for reading and I’ll see you in my next tutorial. ✌


1 thought on “A Quick and Easy Way to Create Star Trails in Photoshop”
This is a great tutorial! I’ve been wanting to try this for a while.