Sometimes you want to quickly extend an image background to fit a certain aspect ratio, maybe for a Facebook cover image, and you don’t want to go through the hassle of masking and clone stamping
In this video, you’ll learn how to extend background in Photoshop using the content-aware scale feature.
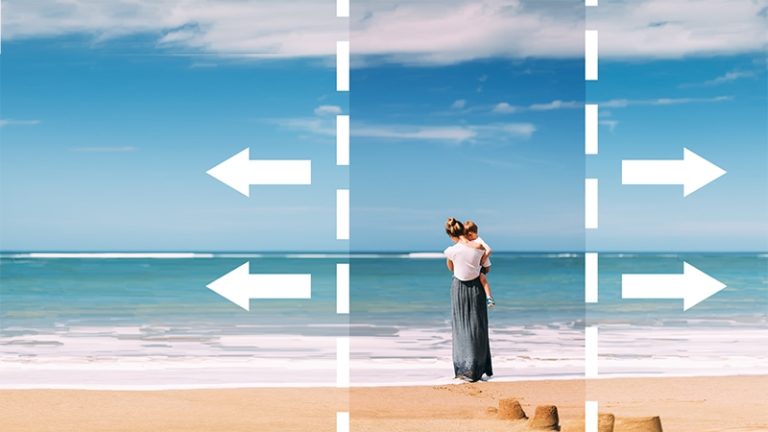
This feature is particularly useful when you have a vertical portrait image, like the one we have today, and you want to extend the background to match the horizontal canvas.
Our goal is to stretch the background without affecting the subject.
I want you to keep in mind that this feature may not work on a busy background. It will work best when you have a simple and repeatable background.
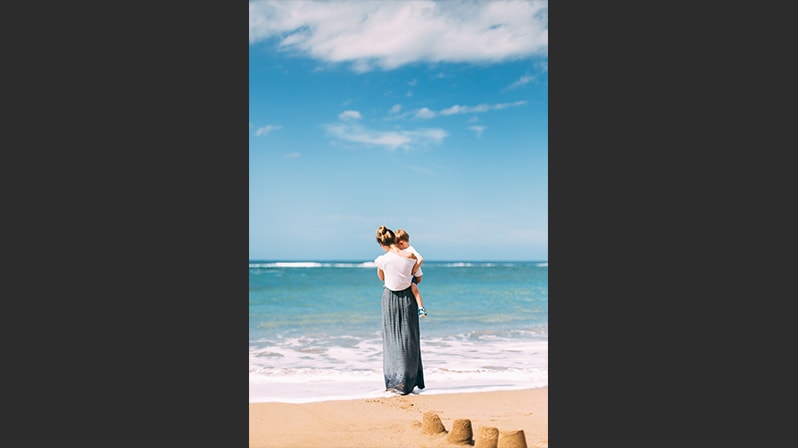
before i show you how to extend the background, you need to change the canvas to the desired size first.
1 – Change canvas size
You can do that in two ways
- Go to Image > Canvas Size
And then enter the desired resolution in the dialogue box, or you can use the crop tool

- click on
Cto get to the crop tool, And then hold alt or option to extend the canvas horizontally
if your aspect ratio is locked, you can click on the “clear” button and then you’ll be able to extend the canvas freely, then accept the changes

2 – Extend Background with Content-Aware Scale
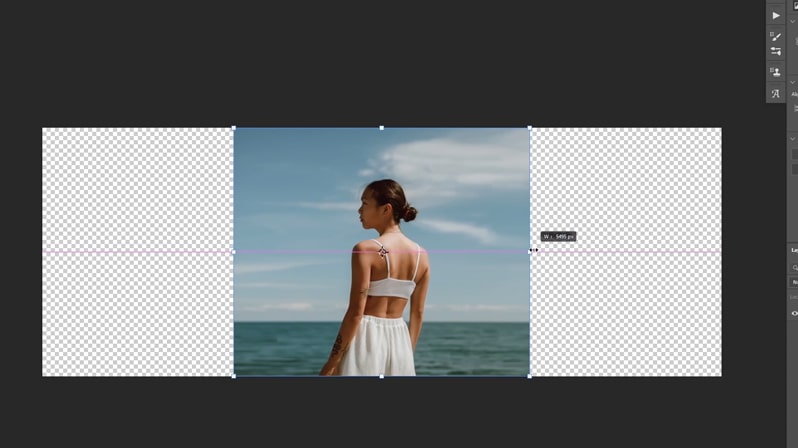
now to extend the background, go to Edit > content-aware scale.
if you are in a newer version of Photoshop, you will see that it will start extending the image on both sides, horizontally and vertically
So you need to hold shift to extend the canvas only horizontally and also hold alt or option to extend from the left and right at the same time.
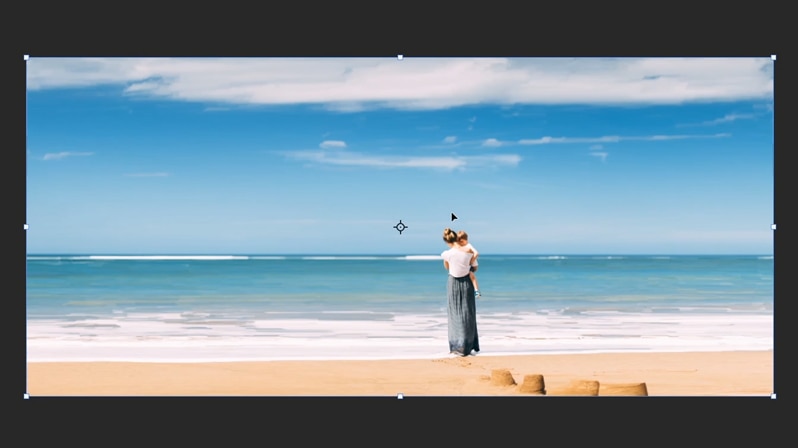
So now what will happen is Photoshop will detect the subject, And it will only extend the background.
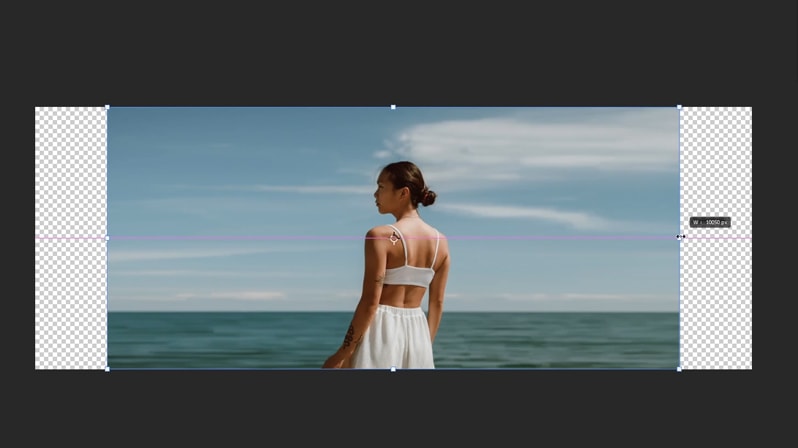
as you can see, we were able to extend the background to match the canvas and the subject is still intact.
So this tool worked very well on this image, but in some cases, Photoshop may not detect your subject perfectly, and it will scale alongside the background.
So, if that happens to you, let me show you how you can protect the subject from scaling alongside the background.
3 – Protect Subject With Channels
So in the next example, let’s try and extend the background. Let’s go to edit and then content to our scale Again,
again, hold alt and shift extend horizontally, And as you can see, Photoshop is doing a good job to a certain point.
But if I go any further, you will see that it will start affecting the subject, especially on her left hand.
Now to protect the subject, we need to tell Photoshop what area we need to protect, and here is how to do it
First, take the lasso tool, and then you are going to make a selection around the subject, then what you need to do is go to channels, and while the selection is active click on the layer mask icon to create a new channel.
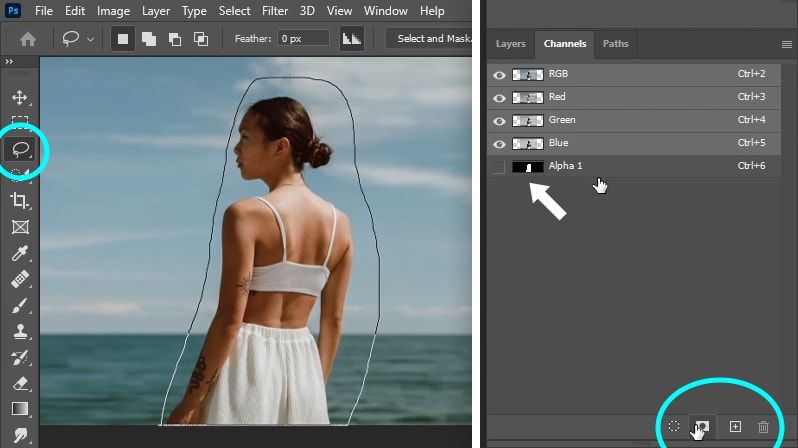
Now click on ctrl/cmd + D to deselect and as you can see, our new channel is called alpha 1, Now you can go back to the layers tab and then go to content-aware scale again.
And now before we scale the background, we need to tell Photoshop to protect that area, which is the channel that we created before called alpha 1.
So select that, And now when you extend the background, you will see that Photoshop is now protecting the subject no matter how much we scale the background.
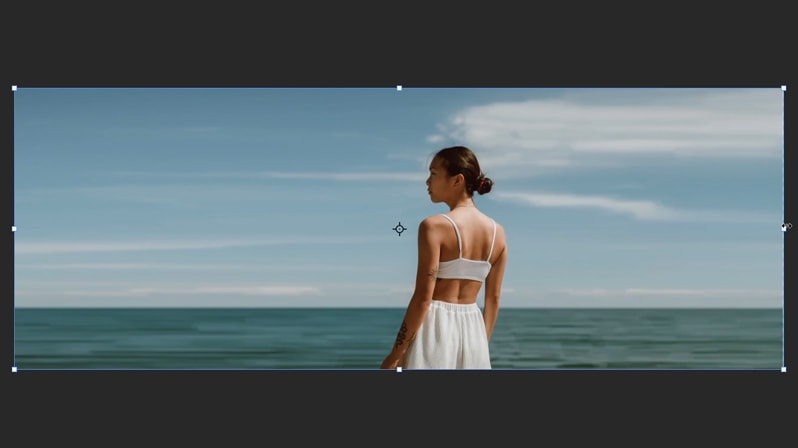
And as you can see now we have the background matching the whole canvas.
You may not stretch your image too much like I did in this example and it also differs from image to image,
but this is a great tool to use to quickly extend your background, and then you can modify it further.
So that’s how to use the content-aware scale feature in Photoshop, I hope you find this tutorial helpful.
If you want to learn how to extend the busier background, let me know that in the comments down below,
other than that make sure to subscribe to the youtube channel So you don’t miss out on new tutorials.
Thank you guys so much for reading the article, And I’ll see you in the next tutorial. ✌